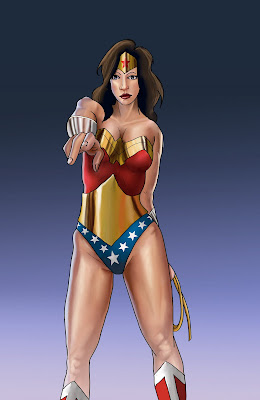
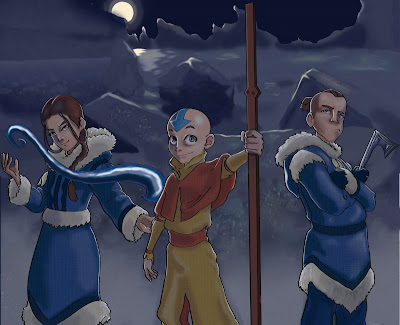
For my final I decided to take Professor B's advice and and do a sort of walk through of my process. So I worked all week saving at certain points in my progress to then put together as a step by step piece. Below I will go over where I was at each number.
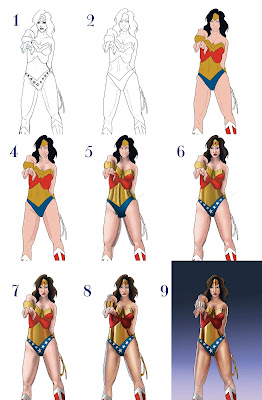
1. This was my original sketch that I scanned on to my computer.
2. I did the lines in Illustrator using a calligraphy brush I made. It was a fixed brush 40% wide. The small lines were .25 and the larger ones were 1 point.
3. This is just flat color. I like to start with an even base.
4. I start to add value at a low opacity slowly building up value. I always build up with a normal brush no soft edges between 35 and 45% opacity.
5. This is where I started adding detail. Mostly with all of the gold. I also added

more contrast a shadows. I get everything smooth with the band aid brush set to pattern. The pattern in just plain white no texture. It's a wonderful tool that Jeff showed me. I do use the smudge tool to set at 40% opacity.
6. Face detail and stars put in with pattern tool so they are all accurate. I had to do each star and then rotate it with the free transform tool.
7. At this point I'm just trying to bring all the parts of the painting up to the same level. I also decided that she is to pale. So after this I experimented with skin tone to try to
make her tanner but not orange.
8. Needed a lot more contrast.
Looked up gold on google images and used it as reference.
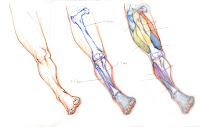
9. I wanted her to look really muscular so I got pictures of muscular legs and tried to make it believable. I also realized her bullet blockers are silver not gold :). And to finish it off a lame gradient in the back ground!!!
And here is the finished piece!!
